FileLinker User Interface
FileLinker Menu Bar
Use the FileLinker menu bar to select the desired workspace. The available options are “Project Center,” “New Project,” “Direct Link,” “Log,” and “Settings.”
Project Center
The Project Center provides an overview of all created projects and clearly displays their respective project and folder structures.
The “Files” section displays all files contained in the selected folder. Files to which additional information has been assigned using FileLinker are marked with an asterisk (*).
When you select a file marked in this way, the associated information and links are displayed in the “FileLinker Folder” section.

New Project
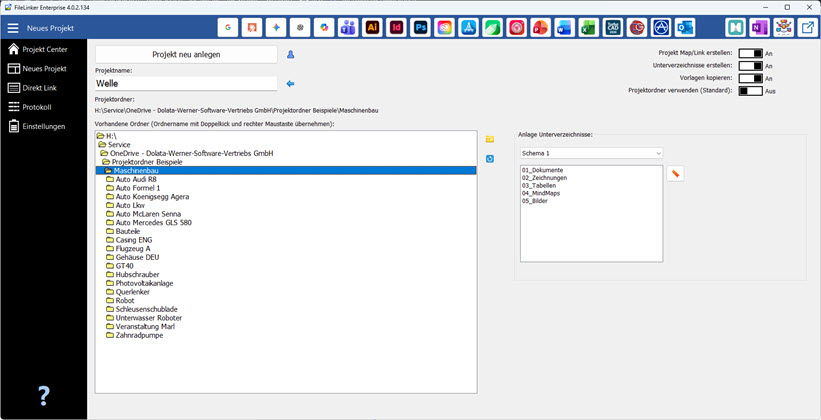
Use the “New Project” menu option to create a new project. First, select the folder in which the project is to be created. Then enter the desired project name and click the “Create New Project” button.
Optionally, you can automatically integrate a MindManager project map, a predefined folder structure, and selected templates into the new project.
Direct Link
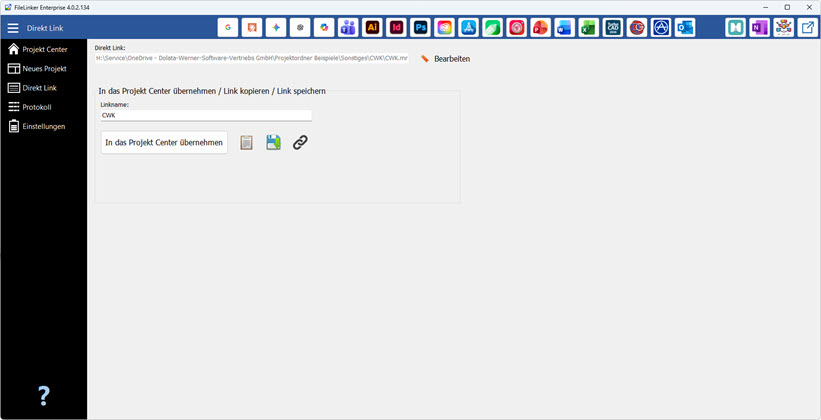
Use the “Direct Link” menu option to create a direct link to a file, folder, OneNote page, website, or AI chat. You can save the created link as a file or copy it to the clipboard.
Optionally, the link can be integrated into the Project Center, where it can be supplemented with additional information and links.
Protocol
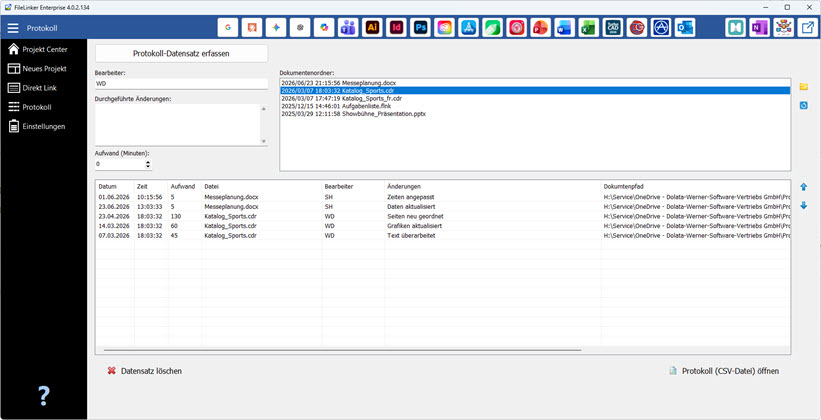
Use the “Protocol” menu option to document completed work and the associated time spent. The file previously selected in the Project Center is automatically transferred to the log section.
Enter the completed tasks in the “Changes Made” field and the required working time in minutes in the “Time Spent” field. All recorded entries are clearly displayed in the log table.
The complete log can be opened and analyzed as a CSV file at any time and transferred to other systems.
Settings
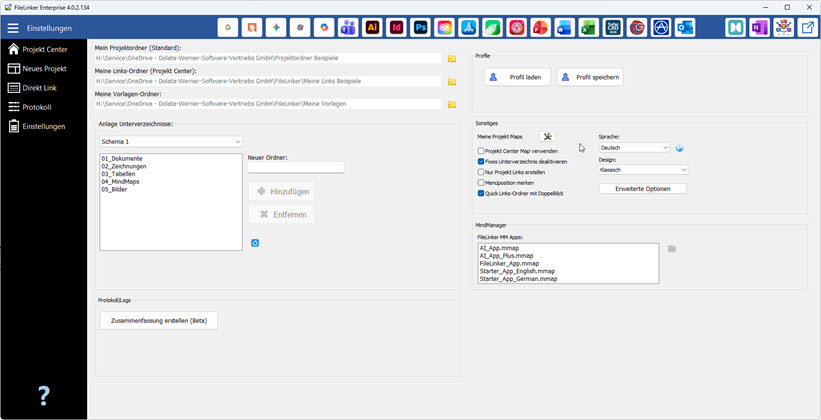
Use the “Settings” menu option to define the storage locations for your project folders, Project Center links, and templates. You can also create and manage predefined folder structures for new projects.
In addition, you can select the desired language and user interface design and configure further options for the Project Center and MindManager.
All settings can be saved in a user profile and reloaded whenever required.